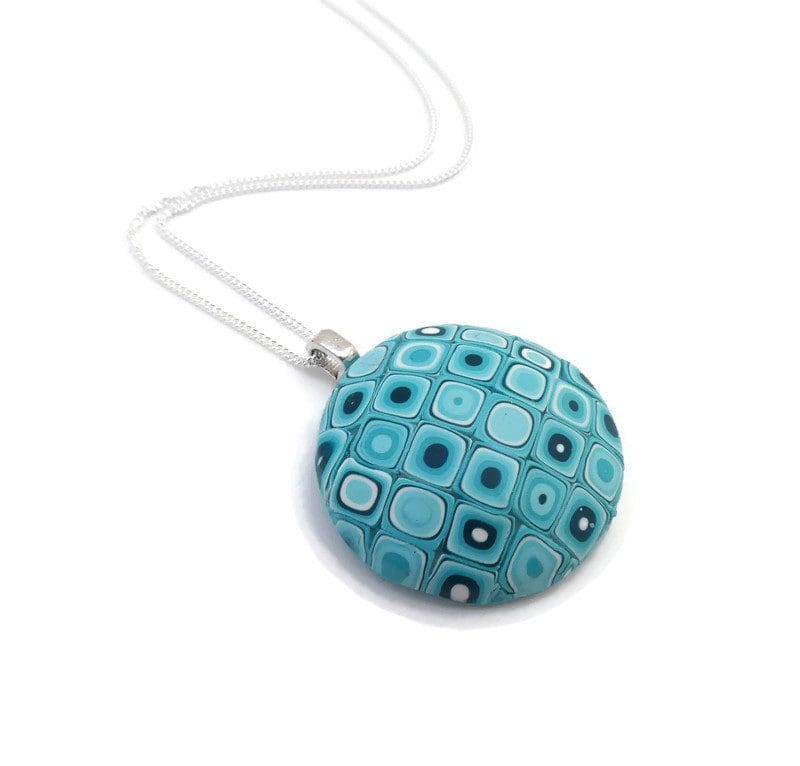
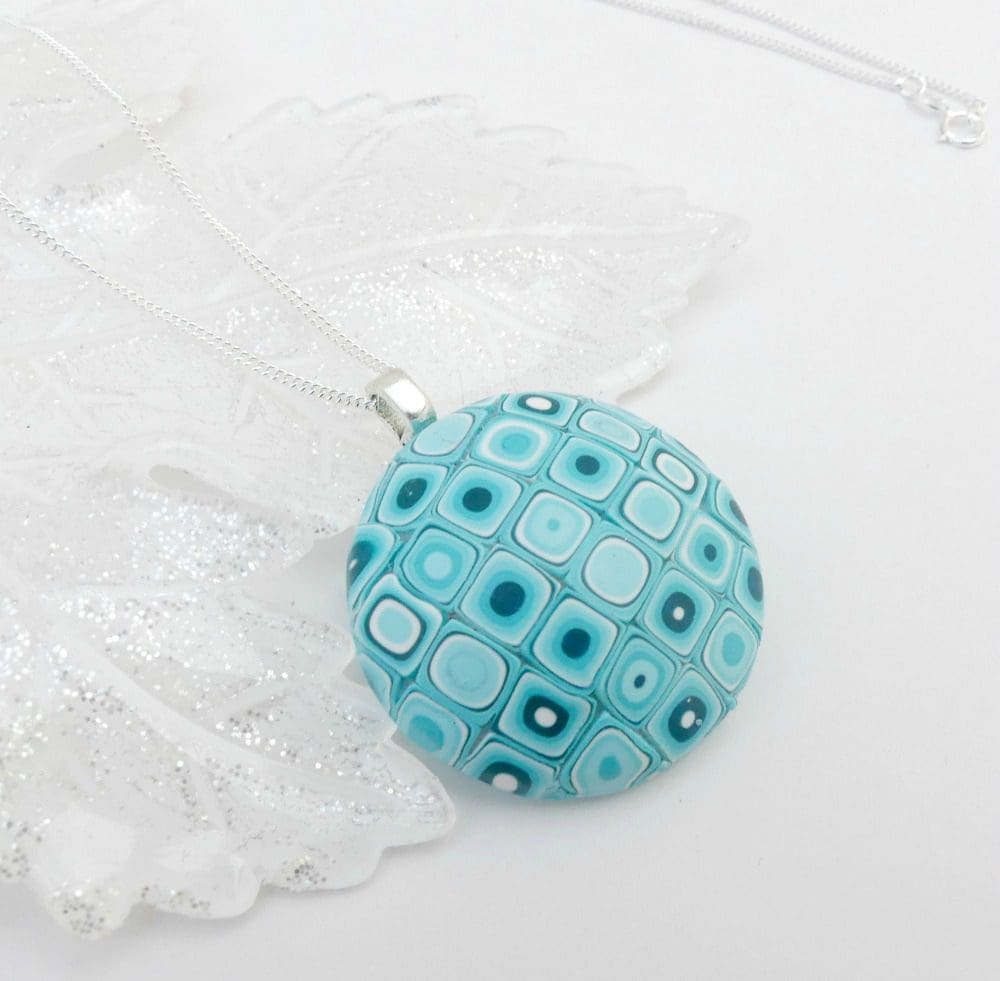
This is another of the basic Polymer Clay styles I first learned ‘back in the day’ and like the Swirlygigs I showed you last time, this one has always remained a favourite too. You never know how they are going to come out so that’s fun! I took some photo’s this time so I can talk you through the stages. This is not a tutorial, but I thought you might be interested to see the stages of work.
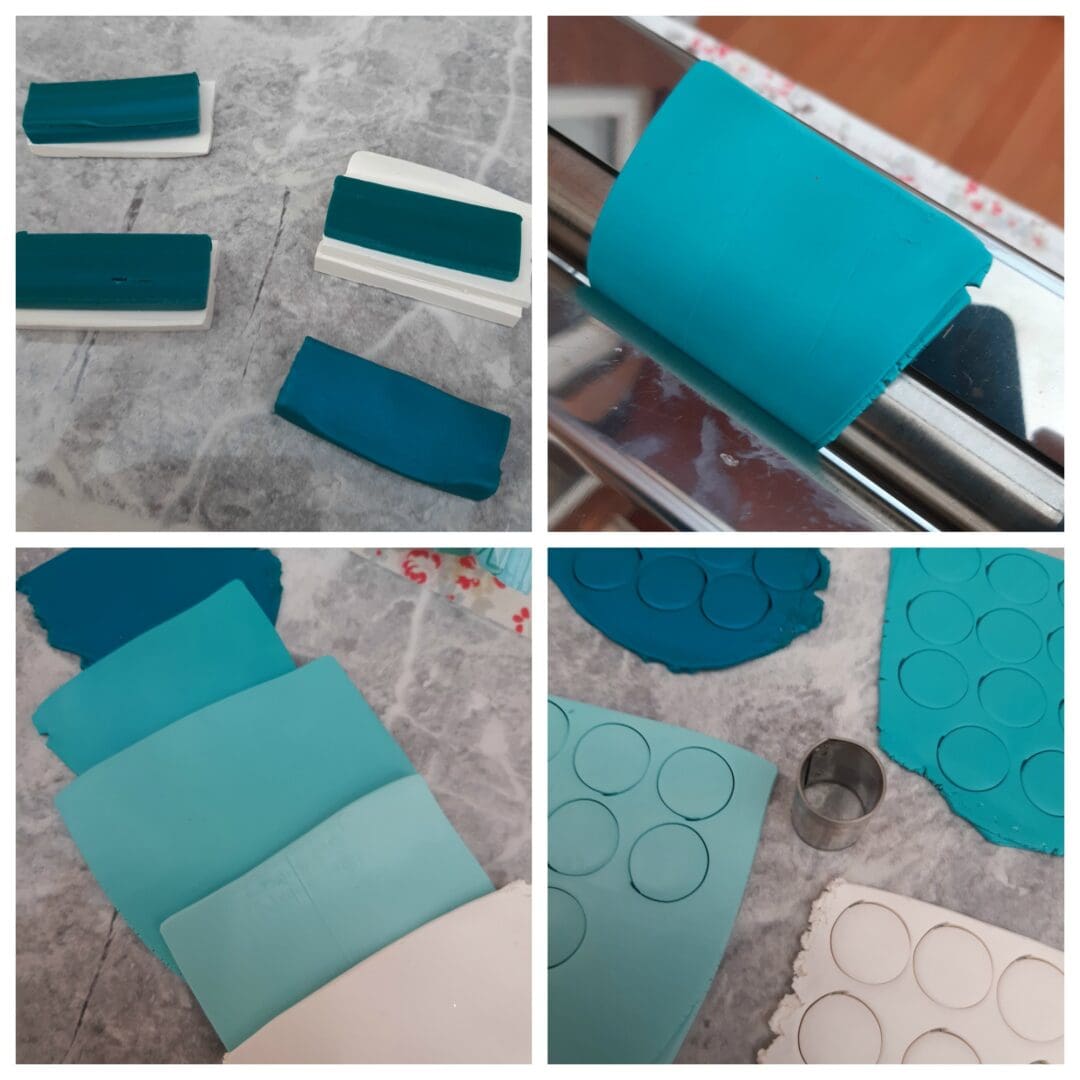
First off I chose the colours I wanted to use and conditioned the clay, that is made it pliable to use. I use a pasta roller for this but you can kneed and roll the clay too if you prefer. I roll a piece of each colour to about 2mm thick.
Next step is to cut little rounds of each colour, the size is to slot into the end of the clay extruder, (like a sort of syringe for clay).
Once I have an even number of each colour I stack them to make a long
sausage shape that will slide into the barrel of the extruder. The clay is then ‘extruded’ and comes out in a long square shaped piece. See pics below
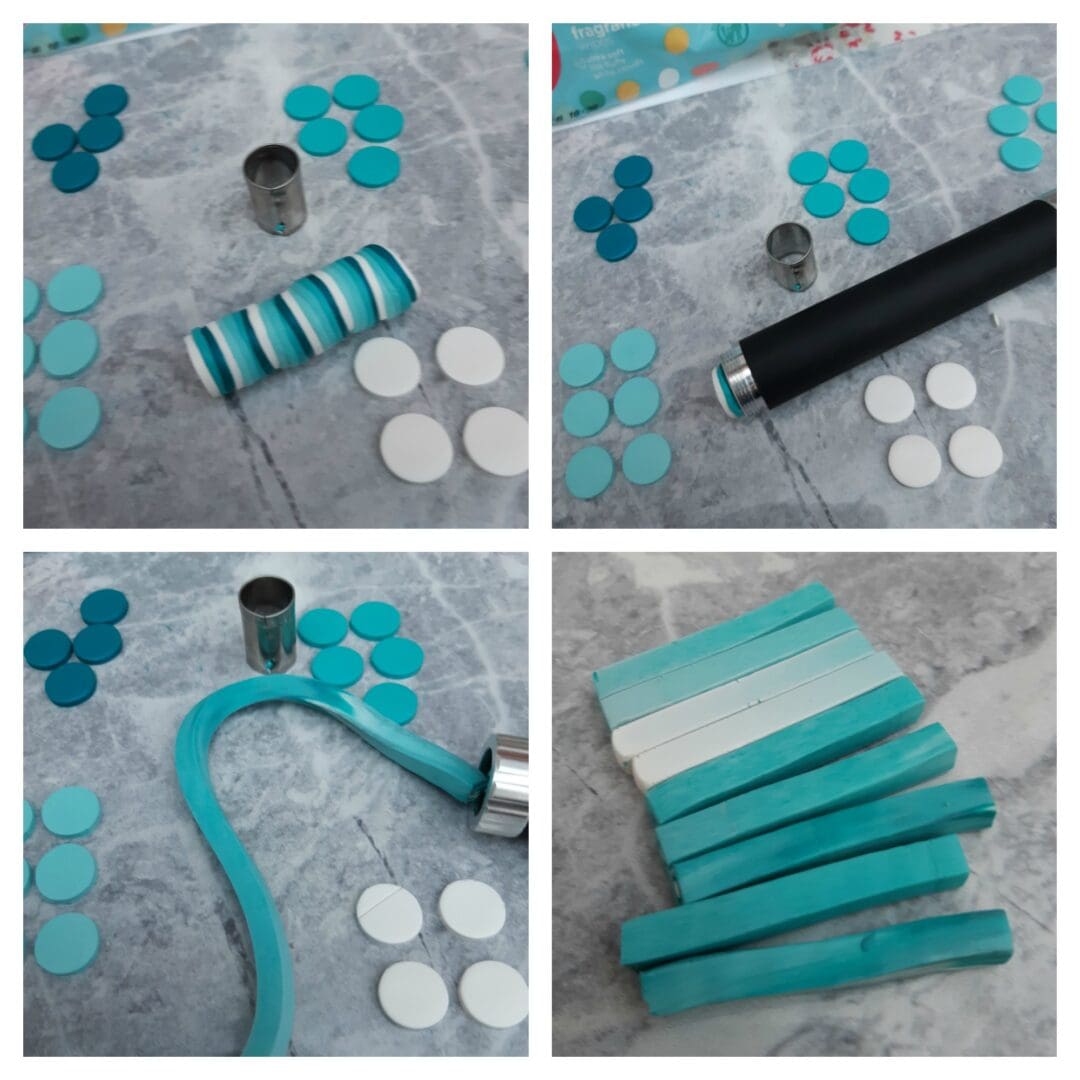
This long piece I then cut into pieces approx 2 inches long, you can see there is a colour variation along the clay. The next step is to stack these little sticks together to make a clay cane. I use 3 across and up to make a square. Then I slice very thin slices from the cane. This is where the magic happens and all the colours pop out in tiny squares, isn’t that fun! I moulded a plain piece of clay into a pendant shape ready for covering with the slices and carefully piece them together across the top to cover it completely.
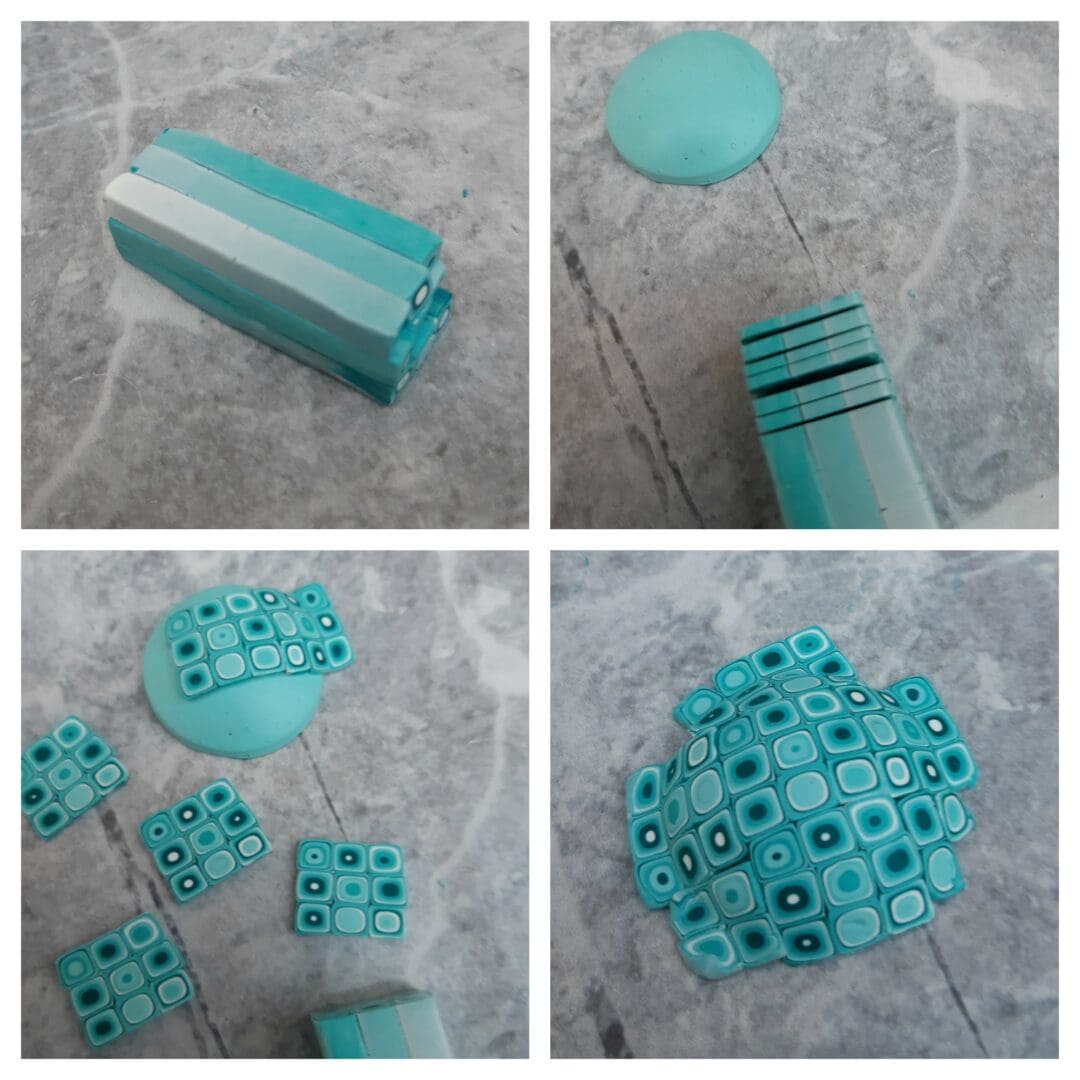
Then using a large circle cutter I trimmed away the edges to make it neat and tidy.
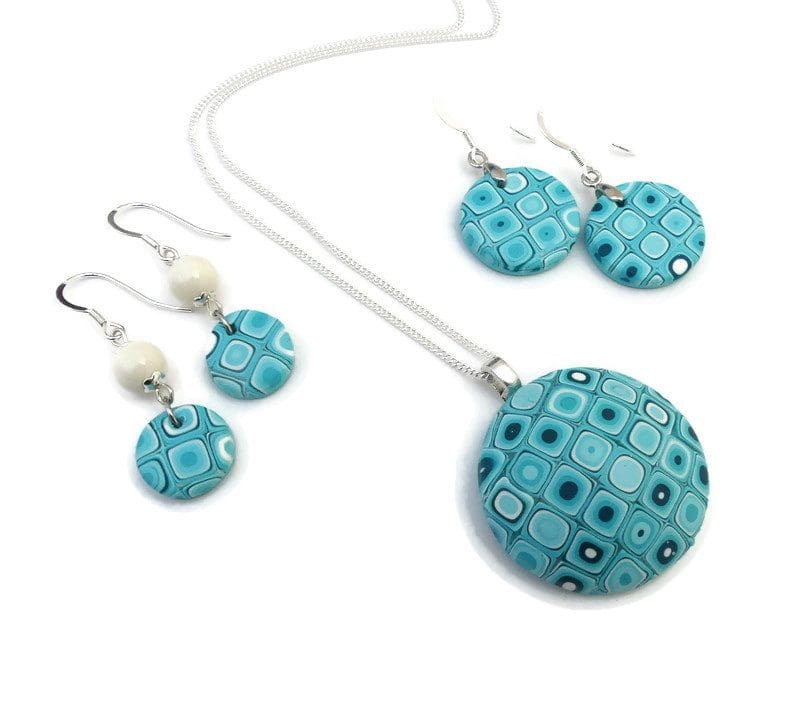
Once it has been baked, it is carefully sanded and given several coats of matt varnish to give it a smooth finish all over. I made some fun earrings at the same time, these pieces are all now available in my British Craft House shop and I will be adding other colours very soon.
Thank you for reading! See you next time, Di x
